Process of participation
This section explains the process to start attending lessons.
Introduction
What you need
All you need for Nekotalk is:
Computer
Internet
Google Meet
Camera or headset
Step.1 Member registration
1. Enter information on the new member registration page
On the new member registration page, enter your first name, last name, nickname, e-mail address and password and click on the register button. You will receive a confirmation email to the email address you entered. Click on the confirmation URL in the body of the email to complete your membership registration.
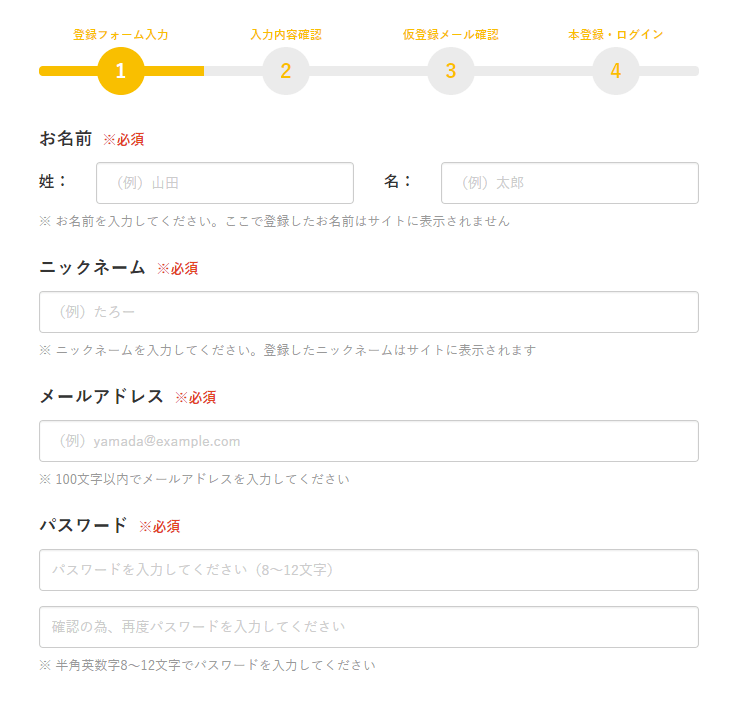
2. Log in to My Page
Once you have completed your membership registration, log in to My Page from the Member Login page! Once you have logged in, you will see notices and other information from the Management Office. This information is updated daily, so please check it regularly.

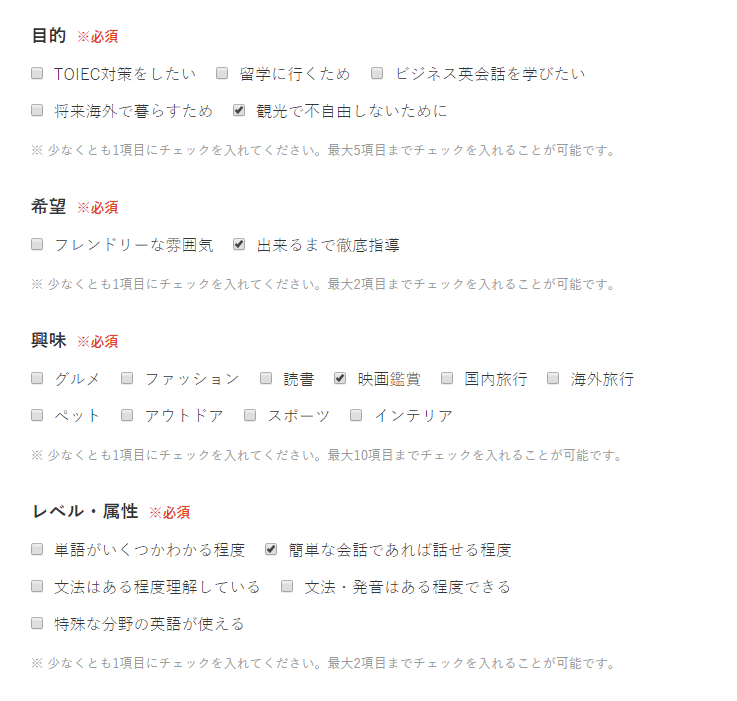
3. Profile registration
Once you have logged in, you will first be asked to register your information on the profile registration screen. If you have not registered your profile information, you will not be able to book lessons. The information you register will be used by the tutor for reference during the lesson. Please register as much information as possible so that we can make the most of our lesson time.
The SkypeID you register here will be used for the lesson, so please make sure you register the correct SkypeID!
Step.2 Purchase points
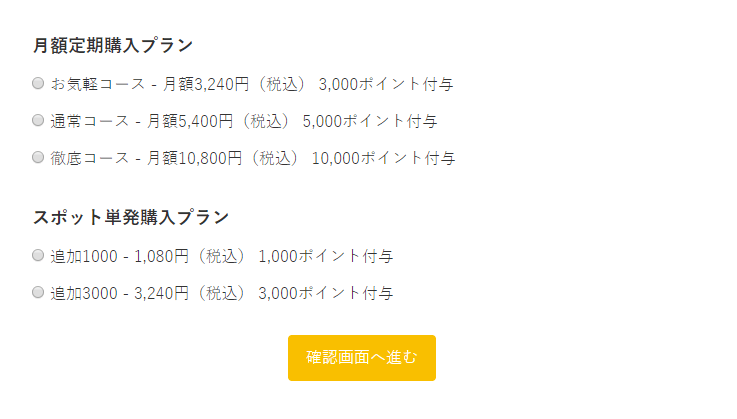
1. Select the desired plan on the card payment page
To take lessons with WTE, you need to purchase points. You can purchase points from the card payment page after logging in to My Page. There are several plans available, so buy the price plan you want. There are several price plans for points. For more information on price plans, please see the price plans page.
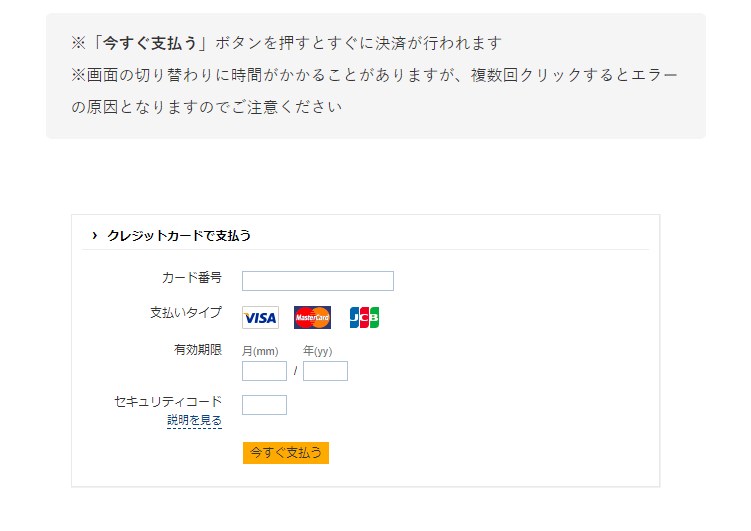
2. Entering card details
After confirming the plan you have selected, click on 'Proceed to credit card payment procedure'. The credit card information input form will appear. WTE also accepts 'VISA', 'MasterCard' and 'JCB'.
3. Getting to the point
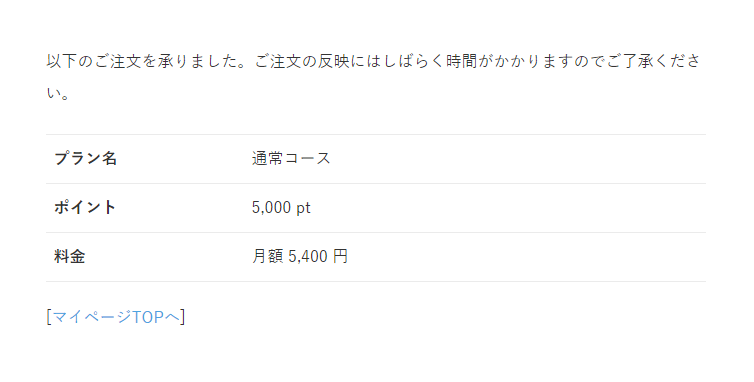
After registering your credit card details, your purchase is complete when the screen changes to this. You can check the number of points at the top of My Page. In order to have a lesson, you need to use the points you have purchased to make a reservation in the tutor's schedule.
Step.3 Reserving a lesson
1. Book a lesson from the schedule
You can register a lesson date from [Reservation from the schedule] and [Reservation from the tutor] on My Page. To book a lesson from the date and time, first click on the date and time you want to book from the calendar. When you click on the calendar, you will see a list of tutors who have registered a reservation for that day. Select the time and tutor you want to take the lesson with and make a reservation.

2. Booking a lesson from a tutor
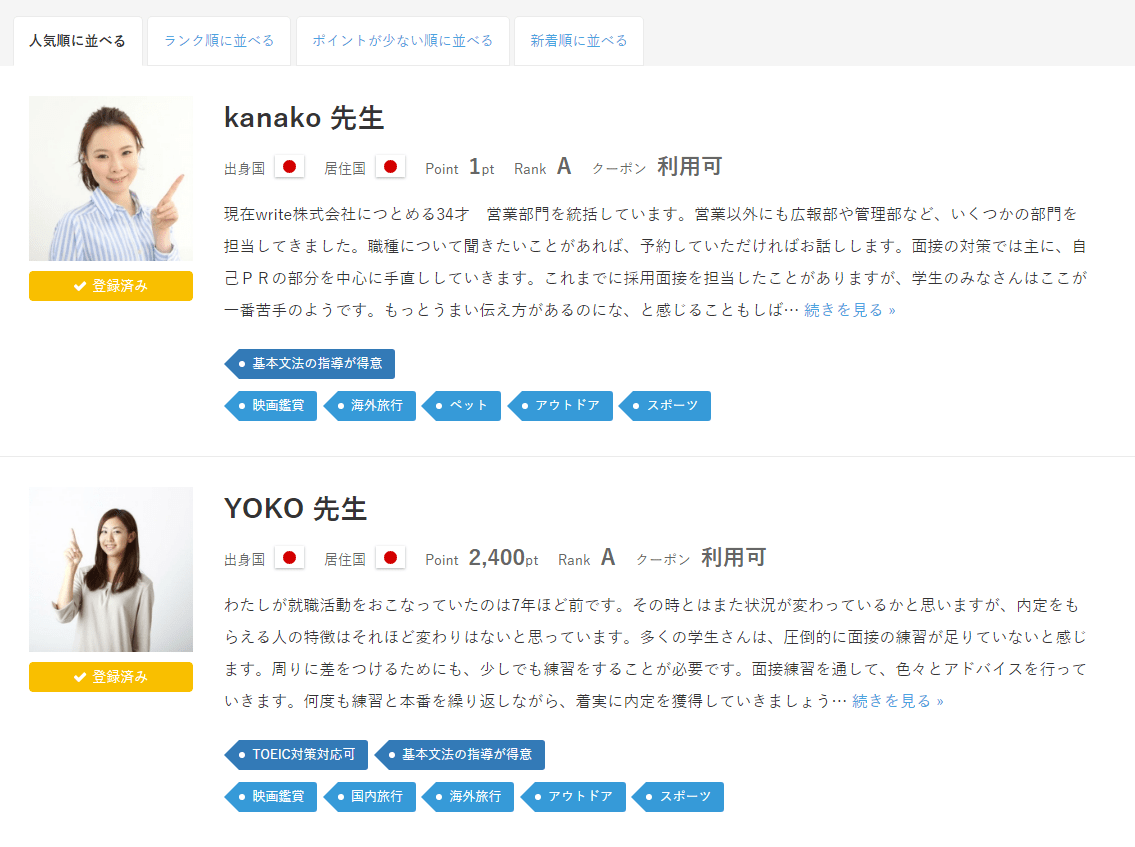
Many of our tutors are experienced and have a wide range of backgrounds registered with us. Click on 'Book a lesson from a tutor' and choose the tutor that best suits your purpose. You can also refine your search by using search tags or register a favourite. You can book a lesson by selecting a date and time from the calendar displayed on the tutor's details page.
3. Book a lesson
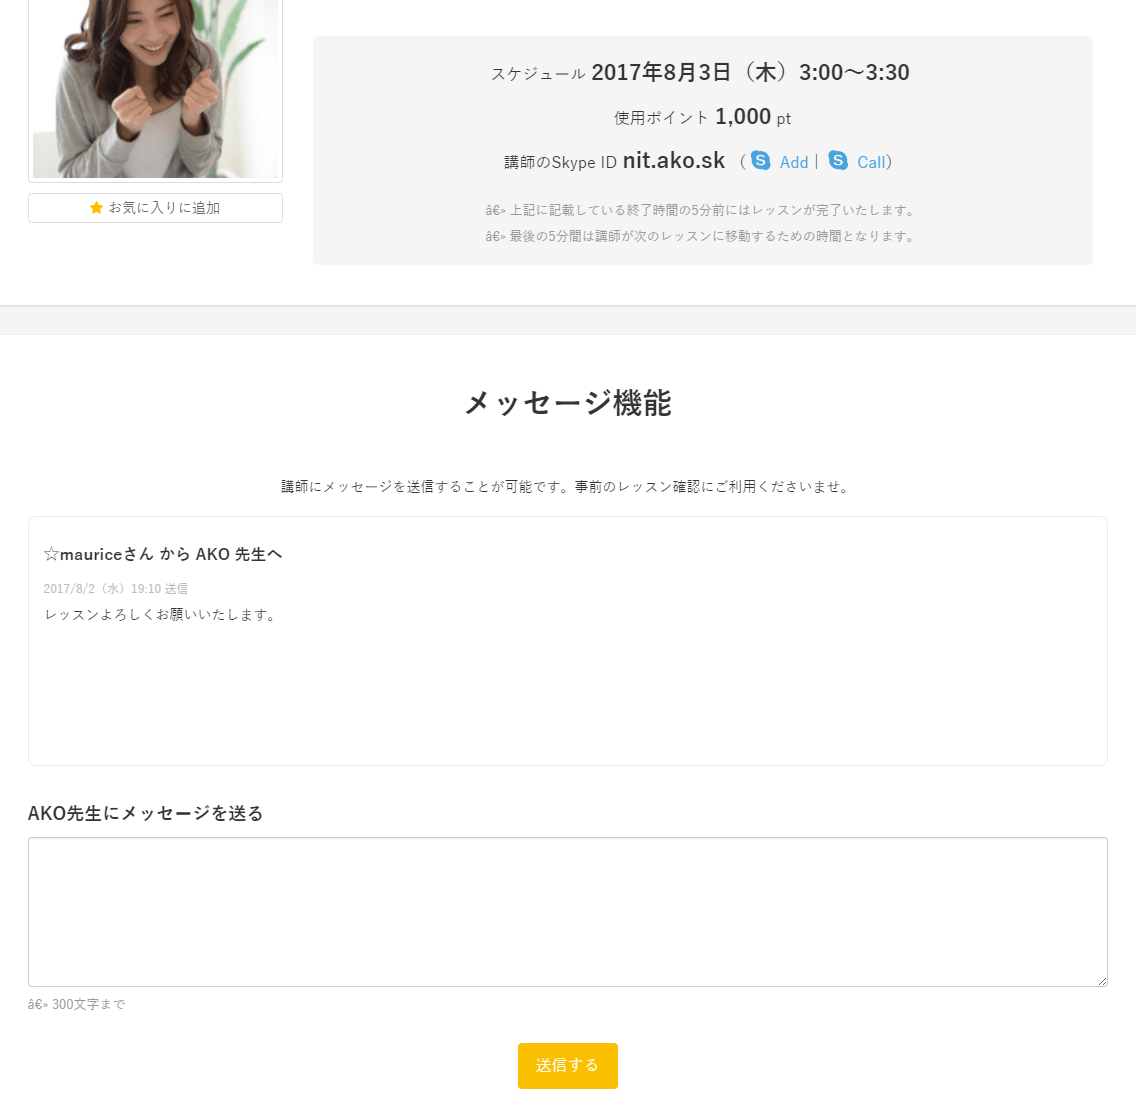
You will receive an email when the lesson has been reserved. You can also send a message to the tutor who made the reservation from the lesson details page. You can also send a message to the tutor you have reserved from the lesson details page. If you do not have enough points to make a reservation, please purchase points from the Point Purchase page.
- Reservations can be made up to 0 hours before the lesson starts.
- Cancellations can be made up to 24 hours before the lesson start time, but will not be charged.
- Please note that cancellations made after 24 hours will be charged.
Start of lesson
1. Call test
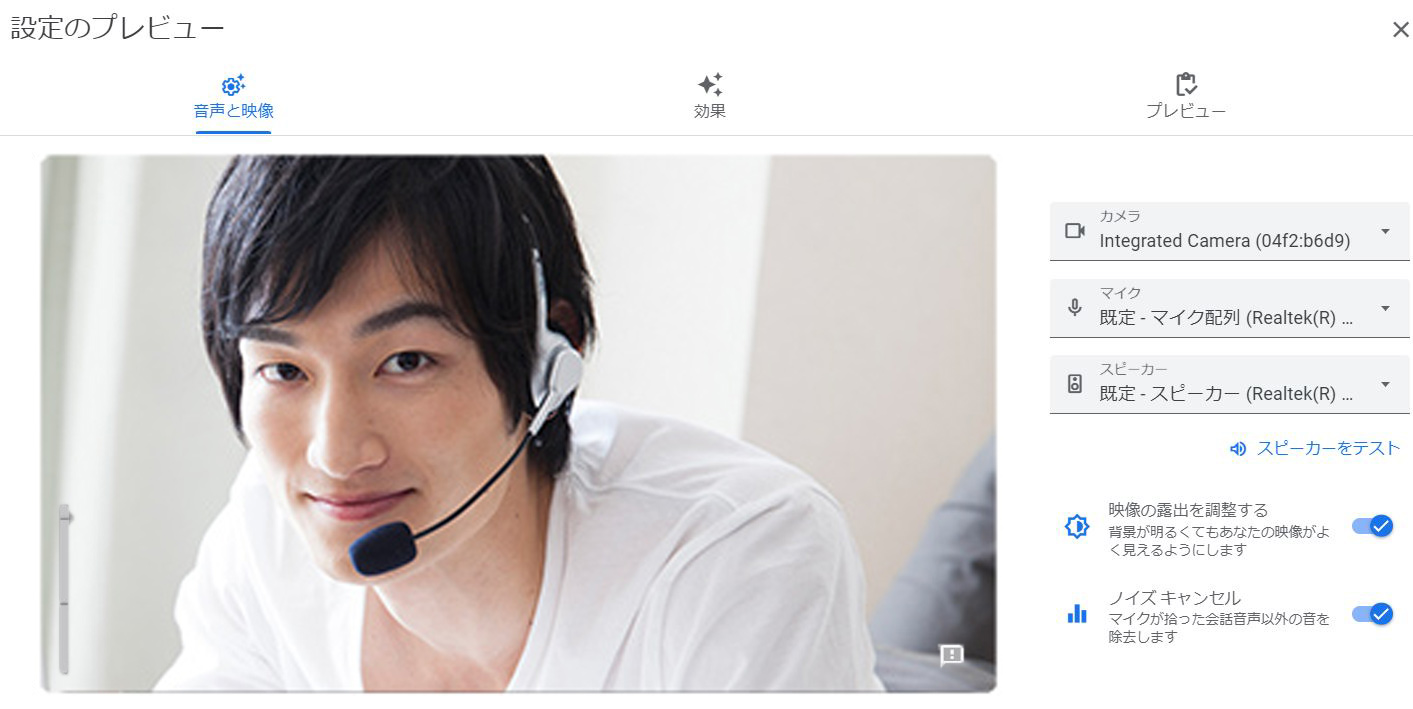
At least 10 minutes before the lesson starts, make sure to start up Google Meet and test the headset (microphone) and webcam connection, which you can check by starting up Google Meet and opening the 'Audio' and 'Video' menus in the Settings screen.
2. Let the lessons begin!
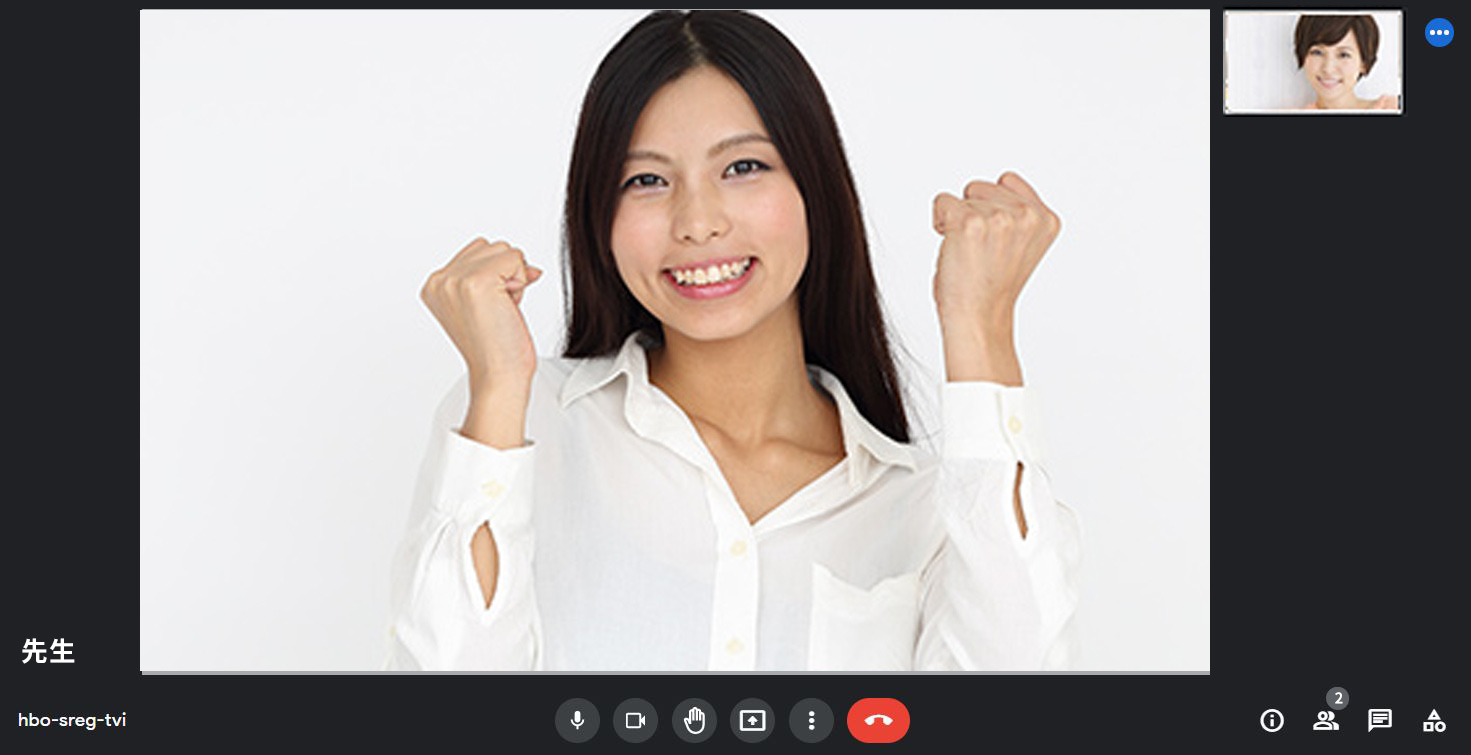
When it is time for the lesson, click on the Google Meet URL on the lesson details page or on the lesson start notice sent to you by email. Click on 'Join computer audio' to start your lesson! If the teacher does not show up on time, please contact the office.
After completion
When the lesson is completed
After the lesson has been completed, you can make a 'completion report' from the lesson history on My Page. There are three types of report content as follows:
- Completed: The lesson took place without any problems.
- Not done: the teacher did not show up
- Trouble: I was not able to attend the lesson.
After checking the relevant details and entering your impressions and evaluation, press 'Report' to finish. Please note that you can only report within 10 minutes of the end of the lesson, after which the lesson will automatically be marked as 'completed'. You can also 'Review' your tutor from the lesson history, so please use this function.

On My Page you can also do this!
There is a memo function
In a conspicuous place on your My Page, you will find a memo function that you can use at your leisure. You can write down notes for your next lesson or write down your goals.
You can download videos and texts.
You can use your points to download texts, choose whatever you like!